My Bedroom Door Stuck Every June — Until I Found the Real Culprit

The Fix That Lasted
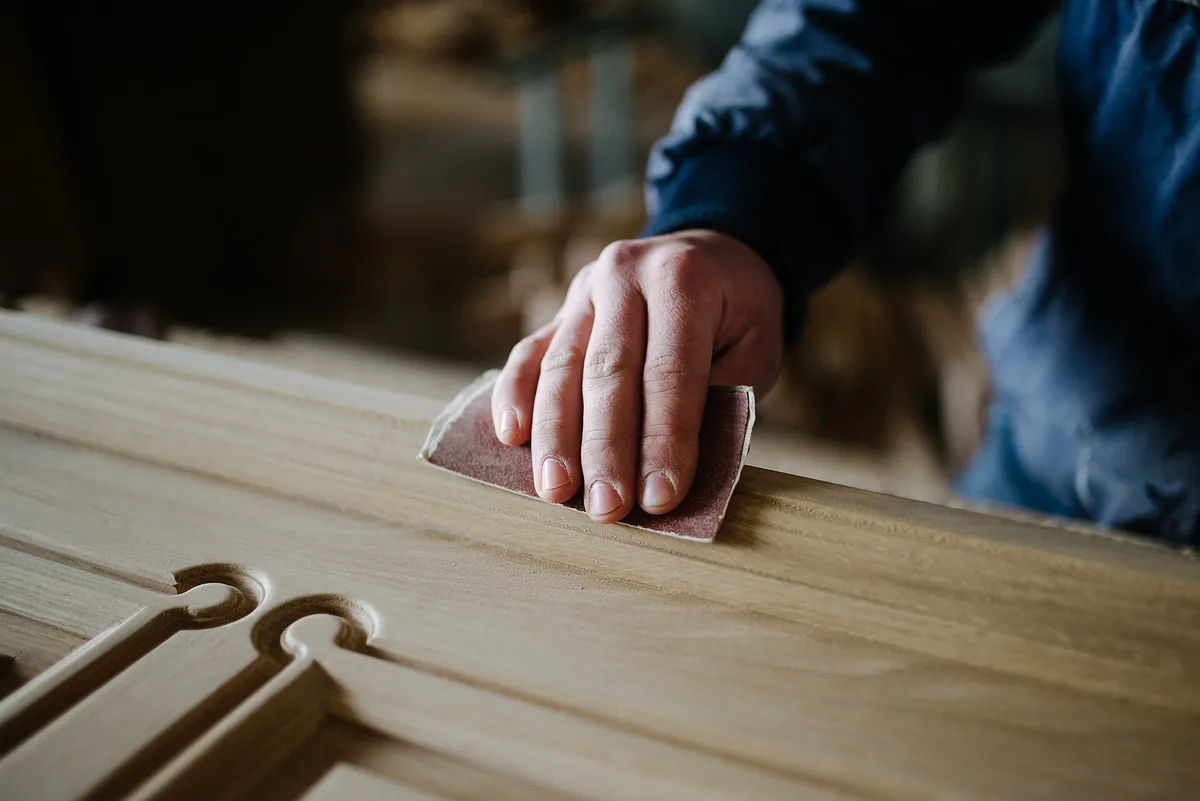
I grabbed 120-grit sandpaper and lightly scuffed that two-inch section of raw wood — just enough to knock down the raised grain and smooth out the fuzzy texture. Maybe thirty seconds of work, if that. I wasn’t trying to remove material or change the door’s dimensions. I just wanted a clean surface that would take a finish.
Then I wiped it down with a damp rag and let it dry for ten minutes.
I used Minwax Polycrylic, the water-based polyurethane in the blue can. One small eight-ounce can cost $7 at Home Depot. I already had a cheap foam brush in the garage, but you can grab one for a dollar in the paint aisle. I also used blue painter’s tape, about $4 for a roll, to mask off the surrounding finish so I wouldn’t accidentally get sealer where it didn’t belong.
I taped off a rectangle around the bare spot, leaving just the raw wood exposed. Then I applied the first coat with the foam brush — thin and even, no puddles. Water-based poly dries fast, so I didn’t worry about drips. I left the door propped open and came back four hours later.
The first coat had soaked in and looked a little flat, which is normal on bare wood. I lightly scuffed it with a fine sanding sponge — just enough to smooth any raised grain — and wiped it clean. Then I applied a second coat, same technique. Thin, even, no brush marks.
I left the door propped open overnight. By morning the finish was hard and smooth, and it matched the sheen of the rest of the door edge well enough that you’d never notice unless you were looking for it.
The sealer stops the wood from absorbing moisture in the first place. That’s the key. Planing the door down would have removed the binding, sure — but it also would have exposed even more raw wood grain to soak up humidity next summer, and I’d be right back where I started.
Sealing the edge cost me about $12 in materials I didn’t already have, and maybe an hour of actual hands-on time spread across an evening and the next morning. Most of that was waiting for coats to dry.
The door has closed smoothly ever since. Three summers running now, through plenty of humid weather, and it’s never stuck once. It latches on the first try, every time, year-round.
If your door binds along the hinge side, or if the bottom edge drags on carpet or threshold, you might actually need to plane or trim wood off. That’s straightforward work, but take it slow and check your progress every few passes — you can’t put wood back once you’ve removed it. If the door is sagging badly or the frame itself is out of square, that’s a bigger job and you might want a carpenter to assess it. Same goes if you’re dealing with a solid-core or metal door, or if the binding is severe enough that the door won’t close at all even with force.
But if it’s seasonal, and if you can find one small section that feels or looks different from the rest, a little sandpaper and a can of sealer might be all you need.