Three Tiles Kept Falling Off My Tub Wall Until I Looked Behind Them
The Fix and Cost
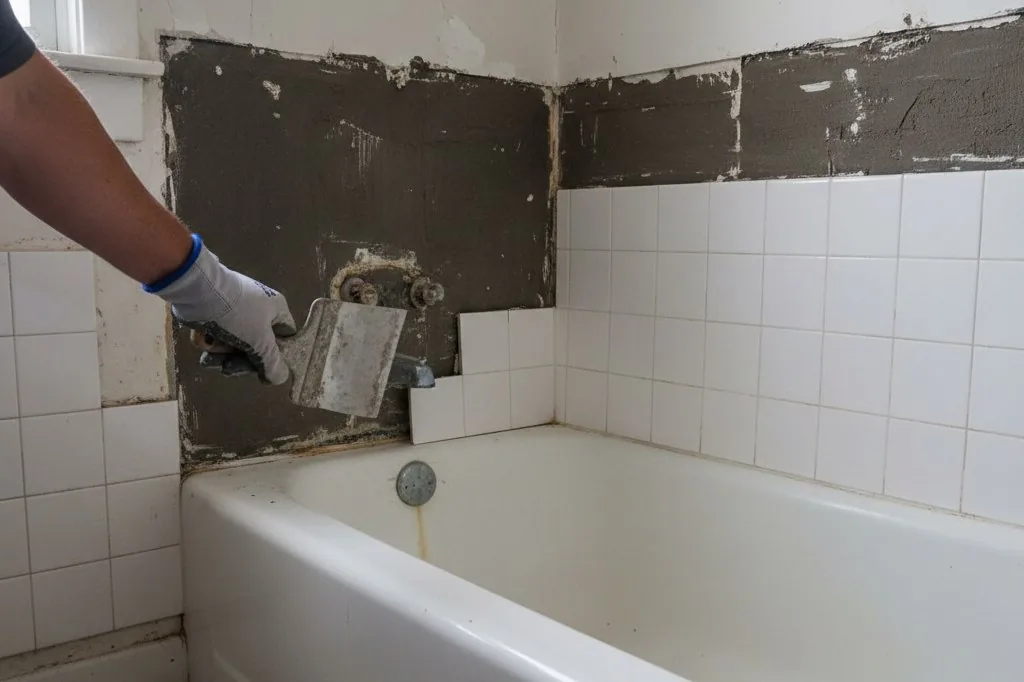
I pulled twelve tiles.
It sounds dramatic, but once I started prying them up with a putty knife, the decision felt obvious. I worked the blade under the edge of the tile next to the ones that had already fallen, tapped it gently with the heel of my hand, and the tile popped off with almost no resistance. The one next to it came off even easier. The mastic on the back was still intact, still tacky—it was the drywall face that had let go, peeling away in a paper-thin layer stuck to the adhesive.
Two more tiles lifted with my fingers. No tools required. That’s when I knew I’d made the right call.
I cut out a section roughly two feet wide and eighteen inches tall, right down to the studs. I scored the drywall with my utility knife, snapped it along the line, then used a small pry bar to pull it away from the framing. The damaged drywall went into a trash bag—it weighed almost nothing, just soft and chalky, the way drywall gets when it’s been wet too long. I vacuumed the studs and the edges of the remaining drywall to get rid of dust and any loose paper.
The wood underneath was damp to the touch but clean. No black staining, no soft spots, no fuzzy growth. I got lucky. Five years of slow drips and no visible mold on the framing. I pointed a box fan into the cavity for about four hours, just to make sure everything dried out before I closed it back up.
At Home Depot I grabbed a 3x5-foot sheet of cement backer board (around $18), a small tub of pre-mixed thin-set mortar ($12), a tube of clear silicone caulk ($7), and a small box of tile spacers ($5). I already had grout and a notched trowel from the original install. Total came to roughly $42, plus another $8 for a carbide scoring blade to cut the backer board, since a regular utility knife won’t touch it.
I screwed the new backer board to the studs with 1¼-inch cement board screws, one every eight inches around the perimeter and a few in the field. Then I troweled on thin-set with a ¼-inch notched trowel and reset the tiles one row at a time, using spacers between them to keep the grout lines consistent. I worked slowly, checking level as I went. The next day, after the thin-set had cured, I grouted the joints with a rubber float, wiped off the haze, and let that cure overnight.
Then I ran a careful bead of silicone along the tub-to-wall seam—this time where it should have been five years ago—and smoothed it with a wet finger.
Three hours of actual work, spread over three days to allow for drying and curing. One seam that should’ve been caulked from the start. Fifty bucks in materials.
If you pull tiles and see black mold on the studs, or if the wood feels soft or punky when you press it, stop and call a contractor. Same if the damage runs bigger than a couple of square feet, or if you’re not confident cutting and securing backer board. But a small, clean patch like this, where the framing’s still solid? Completely doable, and it’ll cost you less than one service call.